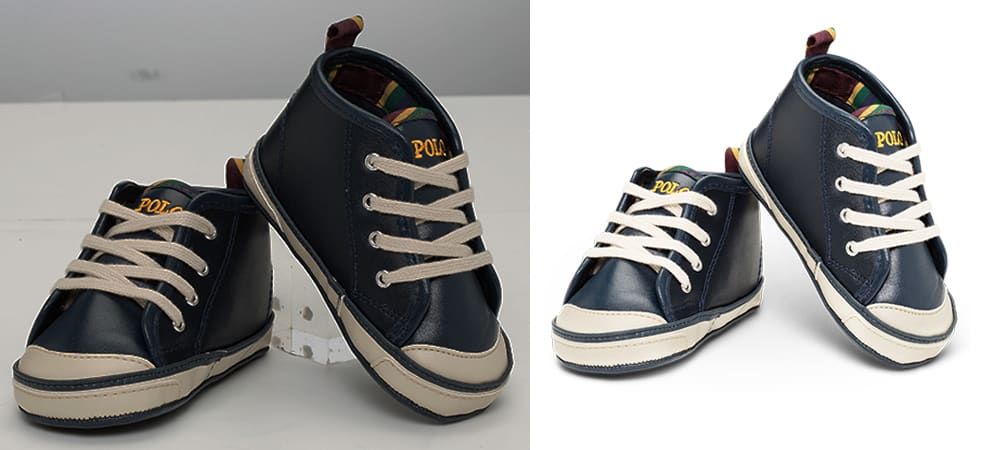
Are you planning to take your product images to a different level entirely? One perfect element that can make this possible is the drop shadow or otherwise known as the box shadow. It can add significant insight to the images. Of your product making them, look more instinctive. Creating an inch-perfect shadow can be difficult at times being a photographer. However, with the inception of Adobe Photoshop, this has become a more manageable task during the post-production. An explanation on how to orderly achieve this is sighted below.
Creating a Drop Shadow:
The first task to complete here, which is an easy one is to make a drop shadow.
- The first thing to accomplish is to import the image we want to work on into a blank (new) Photoshop document.The requirement for the Photoshop document will be a white background layer, and a sheet to place the object itself. The next thing is to cut out the purpose from a different picture provided you have the product photo initially with a white background.
- At the bottom right of your computer, click the fx tab in the layer menu of the layer with your object. Now, at the bottom of the menu bar again, click the option to create a drop shadow.
- From there, you can now adjust the shadow to your preference starting with the color, opacity and the angle to mention few.
Making Drop Shadow More Realistic:
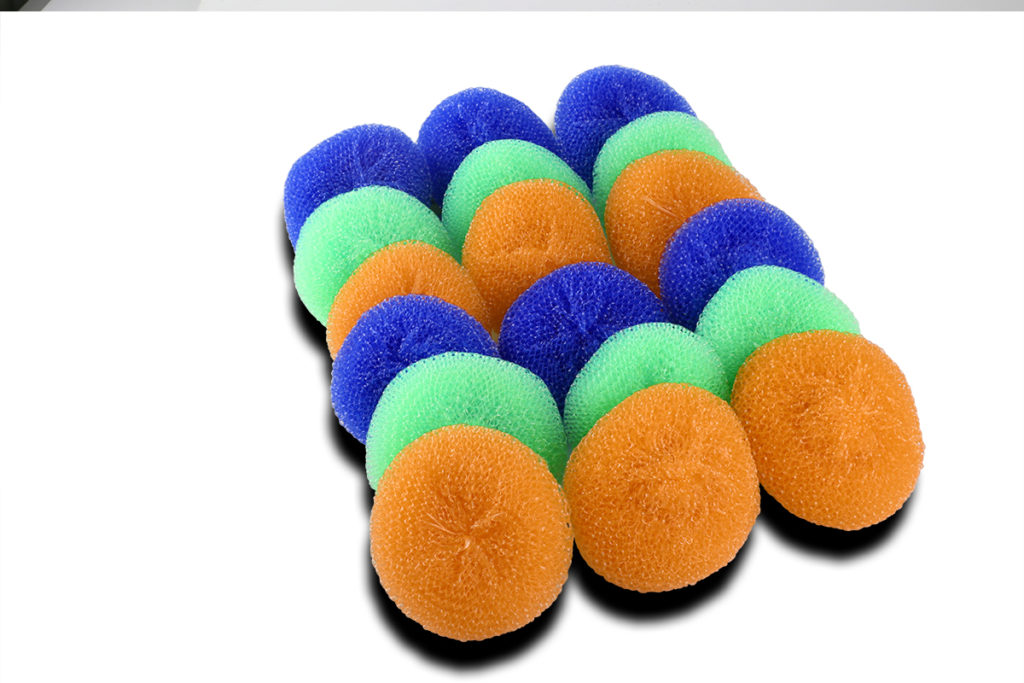
The next measure to carry out is to change the shadow so that it looks like a realistic cast shadow using the following steps.
- With an fx symbol now in the tab layer, easy changes can be made now to convert the drop shadow into a new layer. By right-clicking on the tab, you’ll see a new menu. Look through to the third selection from the bottom. There you will find the option for you to create a new layer. When you select this, the drop shadow will dissociate.
- The next thing is to change the shadow’s direction. It can by selecting a menu from the screen top. Next is to click on “Edit” followed by “Transform” and finally “Skew.”With your mouse, use the top two anchor points to drag out the shadow. Sighting an example, you candrag the shadow out to the right part of the screenaround 45 degrees. Note, you can always adjust the level of shadow you want depending on your choice.
- As you can see, the shadow is now quite long. After the dragging.Of the shadow. Try to adjust this to your taste by going to “Edit” then to “Transform” and lastly “Scale” to change the length by dragging the top anchor either up or down. Since in our case we want to reduce it, that means we have to drag down.
- On the last part, the shadow will need to be twisted to fit our object by making sure that the base of the shadow connects to that of the object’s core. To do this, we go to “Edit,” from there click on “Transform” and then “Wrap.” We then make sure the shadow is in the right position by using the anchor points.
Finishing Touches:
- Make sure that the shadow appears stronger close to the base.Also, make it more mild and lighter at the near top. You can claim this by creating a new layer. Click on your shadow layer, go to “Layer” and select “Duplicate Layer.”A second layer will now appear.
- Next is to adjust the strength of the shadow. Locate the fill tab in the layer’s menu so you can improve the filling strength of the segment. Set the dark shadow layer and light layer to a region of 90% and 40% respectively. Now, deselect the eye icon located at the left of the coat. You should be able to see the strength of the shadow cast by the other shadow layer.
- The next thing is to adjust how sharp the shadow is. It should appear softer as it distances away from the object. It can accomplish by adding a Gaussian blur. The Gaussian blur can be select from “Filters,”then select “Blur” and finally choosing “Gaussian Blur.”The light shadow layer and the deep shadow layer should respectively be on 25 and five usually but you can adjust the pixel radius to your desire.
- On a final note, you are to apply gradation to your shadow.It will make it go from dark to light when an online transition occurs. We can get this result by using a white layer mask to the dark shadow layer. We need to select the gradation tool. It can obtain from the left-hand menu. First thing you need to do is to make sure is that the background set to white and the foreground set to black. At about halfway through the shadow, select a point and drag the gradation against the object casting a shadow. The length of the line will always determine the level of graduation you want. Next thing you are required to do is to drag your mask layer right on the light shadows layer. It accomplished by pressing option while you pull the sheet. To finish this up, all you need is to invert the layer.
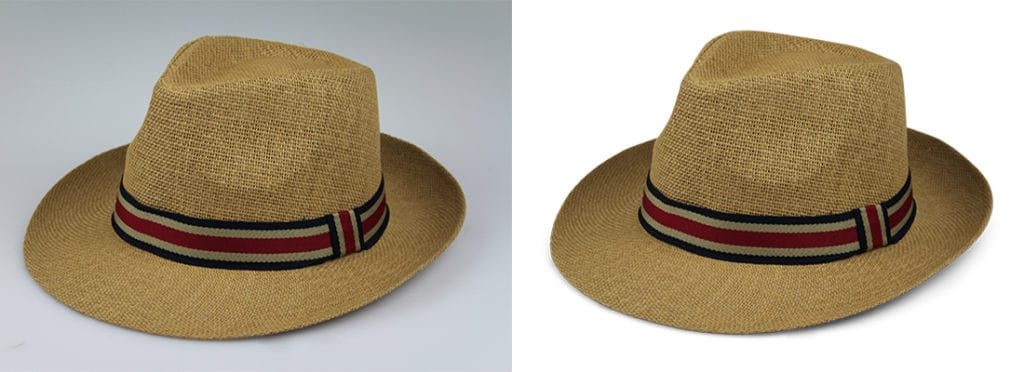
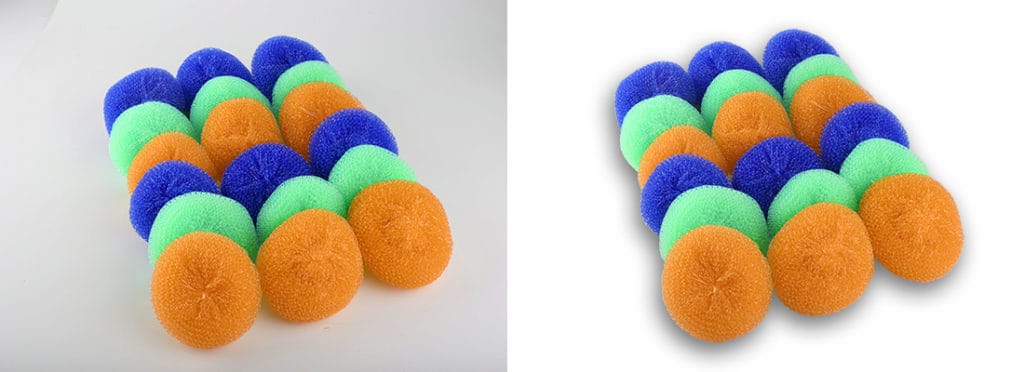
With the addition of both realistic and drop shadow to your product images, jewelry, home furnishings, and footwear, you are on the right way of making your e-commerce photos look more professional and eye-catching.Moreover, at the same time, this will also stand as a tool to make customers shopping and viewing experience enticing by helping them to make the right choice when it comes to making their purchase.

