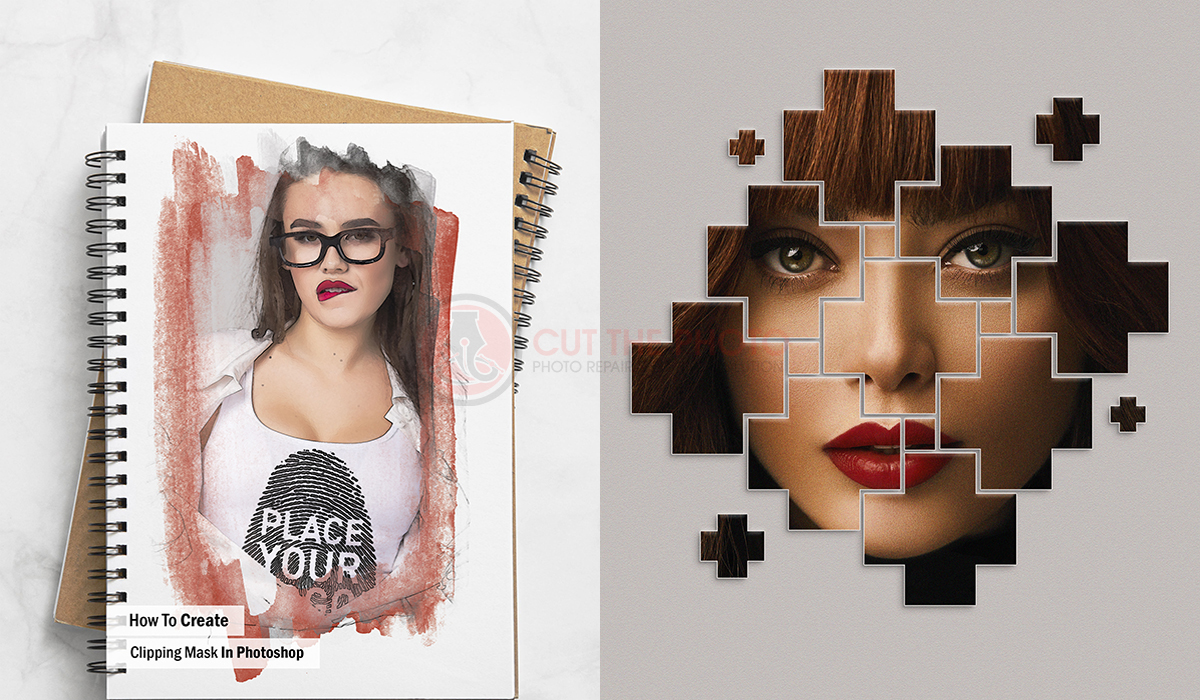
Learning how to create clipping mask in Photoshop unveils a realm of artistic possibilities. A clipping mask serves as the key to seamlessly blend and manipulate images. And it offers a level of precision that transforms a design from ordinary to extraordinary. With the support of the below simple process, you can easily mold images to fit within specific shape, allowing for intricate detailing and harmonious compositions.
From crafting captivating social media graphics to designing intricate web elements, everything includes with this versatile Photoshop’s clipping mask tool.
So before delve into the step-by-step process, let’s look a glance about what it is:
What is a Clipping Mask?
A Clipping Mask in Photoshop is a feature that allows you to use the content of one layer to control the visibility of another. The upper layer, known as the clipping mask, determines the visible portions of the layer beneath it, restricting the content to the shape or transparency of the mask. It’s a powerful tool for creating effects, such as text or images confined within a specific shape or area.
In another way, it is a robust graphic design tool that enables designers to precisely control the visibility of one layer using the shape of another. It acts as a virtual stencil, enabling seamless integration and photo manipulation, paving the way for creative excellence in digital design.
As we navigate the intricacies of today’s technological age, mastering the art of clipping masks becomes imperative. It’s not merely a tool but a solution to the pain points designers face, empowering them to create compelling visuals that resonate across the digital spectrum.
The Necessity Of Clipping Mask
In the fast-paced digital landscape, the necessity of clipping masks becomes apparent as designers grapple with unique challenges. Brands and businesses grappling for online attention rely on striking visuals. Photoshop masks emerge as the unsung heroes, enabling designers to create polished graphics for websites, social media, and marketing collateral.
Pain points arise in the form of maintaining visual consistency across various platforms, be it websites, social media, or marketing collateral. Without clipping masks, achieving a polished and unified aesthetic becomes an uphill battle.
Visual Consistency Across Platforms:
Clipping masks address the pain point of maintaining visual consistency. In an era where content spans diverse platforms and devices, these masks ensure that your brand’s aesthetic remains intact, irrespective of screen size or format.
Efficient Branding and Communication:
Crafting a distinct visual identity is paramount in today’s competitive digital landscape. Clipping masks streamline the process, allowing for efficient branding and communication through visually captivating designs.
Responsive Design Challenges:
With the prevalence of responsive web design, designers grapple with ensuring that graphics adapt seamlessly to varying screen dimensions. Clipping masks emerge as a solution, providing the flexibility needed to create visually stunning, responsive designs.
In essence, clipping masks aren’t just a design tool; they’re a strategic necessity, alleviating pain points and empowering businesses to navigate the complexities of the digital age with visual prowess.
Step By Step Guide Of Clipping Masks In Photoshop:
A clipping mask in Photoshop allows you to control the visibility of one layer based on the content of another. This versatile tool is essential for creating stunning designs and graphics. So walk fast and come join me on this journey to unravel the secrets of the clipping mask Photoshop tool.
Process 01: Open Photoshop and Load Images:
Launch Adobe Photoshop and open the images you want to work with. You can do this by going to File > New and setting the desired dimensions. Ensure each image is on a separate layer for effective masking.
Process 02: Add a Background
To make a background layer, you can use two strategies. You can use, for example, either by selecting the background layer that Photoshop automatically generates. Or else, by adding a new layer and filling it with a color or gradient.
Process 03: Add Text
Select the Text tool (T on the keyboard), then click on the canvas and start typing your desired text. And don’t forget to adjust the font, size, and color as required.
Process 04: Arrange Layers:
Now, organize the layers by placing the image you want as the base at the bottom of the layer stack. The layer above it will be the one you want to mask.
Process 05: Select the Layer to be Masked:
So, click on the layer you want to apply the mask to. This is the layer that will adopt the shape of the layer beneath it.
Process 06: Create a Clipping Mask:
After that, go to the top menu and select Layer > Create Clipping Mask or use the keyboard shortcut Ctrl + Alt + G (Windows) or Cmd + Option + G (Mac). Your top layer will now adopt the shape of the layer below it.
Process 07: Adjust Position and Scale:
Move and scale the clipped layer as needed. Use the Move Tool (V) and the Transform options (Ctrl + T or Cmd + T) for precise adjustments.
Process 08: Refine the Mask (Optional):
To refine the mask, select the layer mask associated with the clipped layer. Use the Brush Tool (B) to paint with black to hide areas or white to reveal them. This step is crucial for achieving seamless blending.
Process 09: Experiment with Blend Modes:
You can now experiment with different blend modes to enhance the interaction between the clipped layers. To clarify, common blend modes include Overlay, Multiply, and Screen.
Process 10: Add Effects (Optional):
Carefully, improve your design by applying layer styles, filters, or adjustments to the clipped layer. On a quick note, this process adds depth and creativity to your composition.
Process 11: Save Your Work:
Once satisfied with the result, save your work by going to File > Save or File > Save As.
That’s it.
About Clipping Path VS Clipping Mask:
Both clipping paths and clipping masks are valuable tools, each with its unique strengths. Let’s see the comparison:
| Compare Between Clipping Path And Clipping Mask | ||
| Aspects | Clipping Path | Clipping Mask |
| Definition | A precise vector outline is created around an object to isolate it from its background. | A technique controlling the visibility of one layer based on the content of another, allowing seamless blending. |
| Use Cases | Ideal for objects with well-defined edges, requiring pixel-perfect precision. | Suited for creative compositions, collages, and designs where blending and flexibility are crucial. |
| Precision | Offers pixel-perfect precision, making it the preferred choice for intricate and defined objects. | Provides flexibility, allowing for experimentation and creative adjustments without altering the underlying layers. |
| Complexity | Well-suited for straightforward isolation of objects with clear boundaries. | Efficient for complex designs, enabling designers to blend multiple elements seamlessly. |
| Workflow Efficiency | Increases efficiency in projects that demand precision, reducing the time required for intricate designs. | Streamlines workflow in projects where creative experimentation and blending are essential. |
| Industry Trends | Frequently used in e-commerce photography and industries requiring detailed product images. | Popular in digital art, social media graphics, and designs that emphasize visual appeal and creativity. |
| SEO Impact | Content with precise product images utilizing clipping paths may enhance product visibility on e-commerce platforms. | Designs incorporating clipping masks tend to receive higher engagement on visual platforms, contributing to improved SEO metrics. |
| Decision-Making | Choose when exact object isolation is a priority and detailed edges are critical. | Opt for creative projects where blending, experimentation, and flexibility take precedence. |
| Examples | Product photography, isolated portraits, logo design. | Collages, artistic compositions, and social media graphics. |
| Best Practices | Use when a high level of accuracy is required, and the subject has transparent edges. | Apply when blending layers creatively and experimenting with design elements. |
The choice between them depends on the specific demands of your design project, emphasizing precision or creative flexibility.
Conclusion:
So, at the very final stage of today’s post, it is safe to say that mastering the clipping mask in Photoshop always opens up infinite possibilities for creative expression. With the help of this easy understanding guide you can lift up your design skills and create visually stunning compositions.
As you can see, it’s an easy to understand, simple step by step guide, but if you feel complexities in your work, don’t be shy to contact us through our website named “Cut The Photo”.
At last, if you find this article informative, it’s an humble request to you to share this post with your friends and family, as we know sharing is caring.
So, why are you waiting for, drive now to unlock the creative potential, and triumph over the challenges of modern design.
Happy masking!


