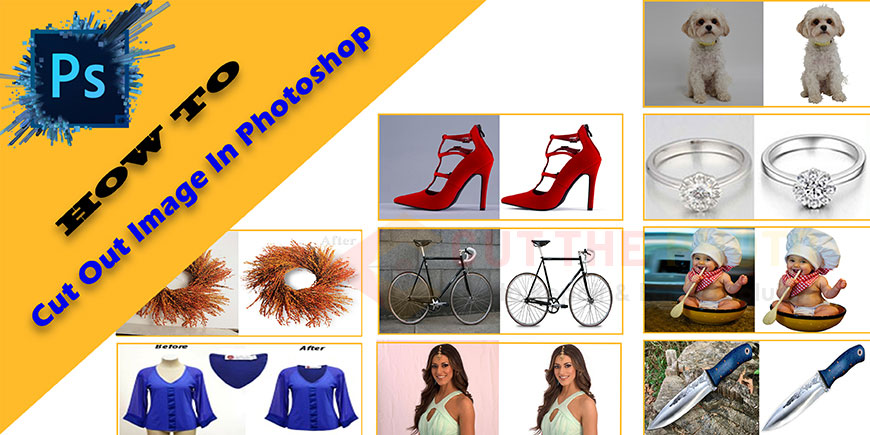
A great tool that is being used by graphic designers on images to give it a perfect effect is Adobe Photoshop. The software comes with a technique that is capable of cutting out an image away from the background. Though the difficulty level. Of the model determines the method required to carry out any of the tasks. Adequate tools that can handle such task with nothing but decency is the Lasso and Magic Wand tools. They are competent in giving out the result for any item that has foundations of smooth shading. If you decide to go for a more accurate result, then the Pen tools and Quick Mask should rather be your best bet. After you did with the removal of an image from the background, the next thing is to add the image to your on-hand collections for a presentation, advert or another form of the business document.
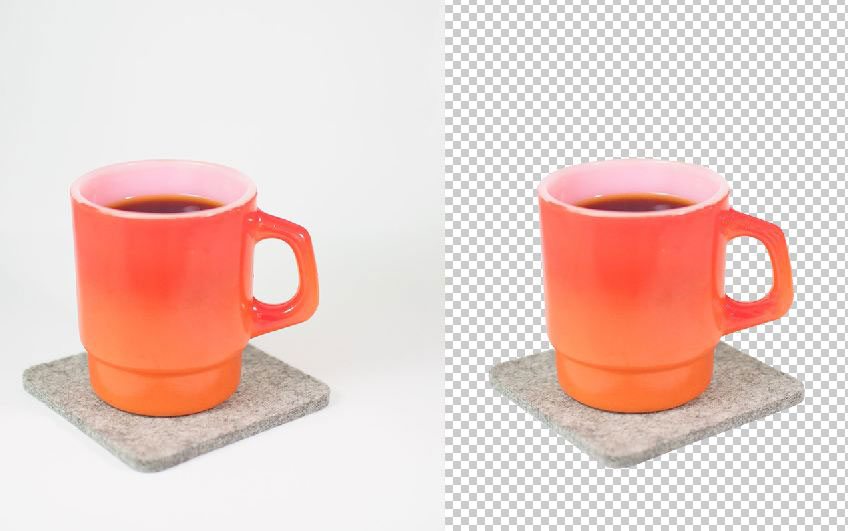
Cut Out Image by Magic Wand Tool
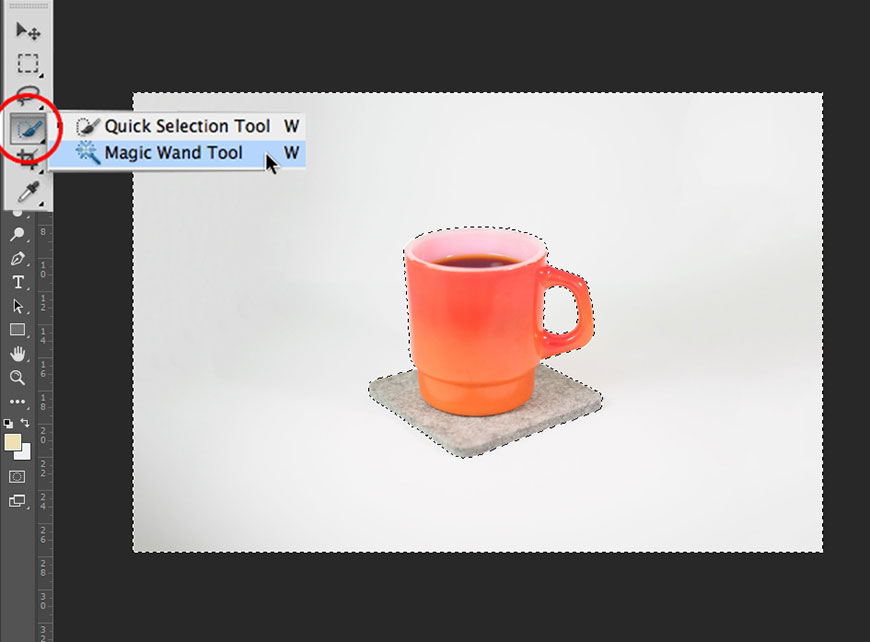
- To use this, you need to select the Magic Wand from the toolbox section first by making a left-click with your mouse on that particular object required to be cut out. It will highlight the selected item. Then try to confirm that the whole purpose covered by the highlight you made by holding the Shift key and pressing on the adjacent part of the object or image.
- Keep adding sections of the object until the whole purpose been highlighted. Mind you; it works more when the use or item you are working on is a uniform color. In a case whereby you have a detailed background but with a consistent experience, it is advised to use the Magic Wand on the environment rather than the object and after click on “Inverse” from the selection menu.
- After been done with the selection, you can now click on the “Edit” option from the menu bar. From there, you Click “Copy” for the duplicate.
- To paste the copied item to a new page, you need to first click on “File”from the menu bar and click on “New” from the drop down. Afterward, you then select “Clipboard” and click on “Ok.”
- To finally paste it,from the menu bar once again, click on “Edit” and select one of the drop down menu which is “Paste.”It will then paste the copied object onto the new canvas. When done, double click on the “Background Layer” and click on “Ok” button. Delete the background layer by right clicking before selecting “Delete.”After the completion of this, you can now go on to save your object with any file format that is convenient for you.
Cut Out Image by Quick Selection Tool
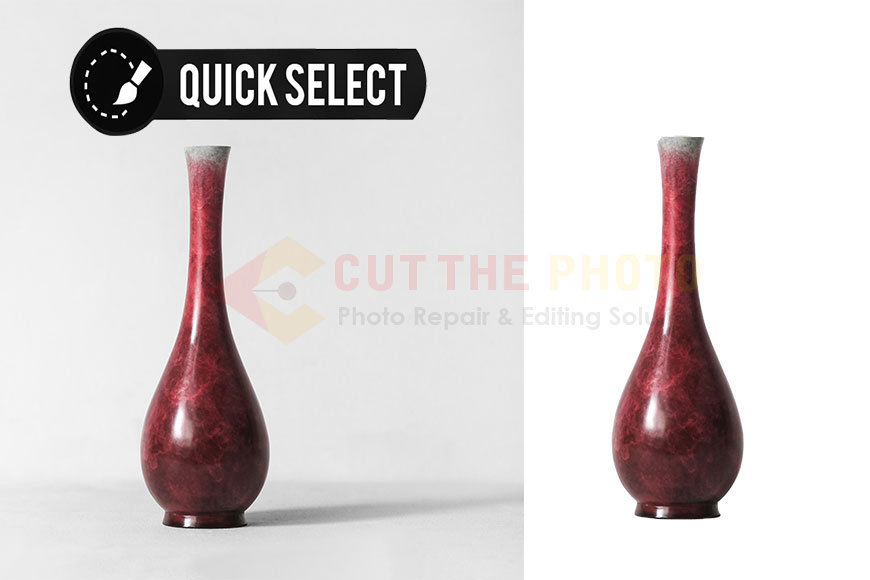
You can cut out an image easily with quick selection tools by following some steps:
- To access the Quick Selection Tool, go to the toolbox and select it. You can then left click on the object you desire to perform the cut out on.
- Click on any side within the item to add them to your selection. Hold down the “Alt”afterward, do a left click on that section or part you want to remove from the variety.
- After the whole object selected, you can now click on “Edit” followed by “Copy” from the menu bar.
- Go to the Menu bar once again to select “Edit” and the “New” option too. Choose“Clipboard” from the dropdown option and click “Ok.”
- Paste the object by clicking on “Edit” and subsequently click on “Paste.”It will now show the object on a new canvas. On the layer’s palette, double click the “Background Layer” andclick the Ok button. Finally, do a right-click on the background layer and then click “Delete.”
Cut Out Image by Photoshop Lasso Tool
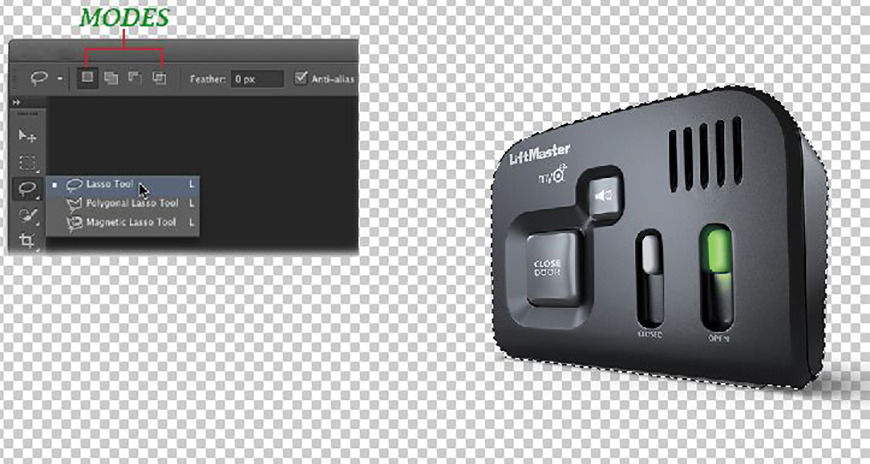
- From the toolbox, select the Zoom button. Now click on that image of yours until it has enlarged to your satisfaction.
- Go to your toolbox once again to select the Lasso Tool. Click to drag the cursor of the mouse on the edges of the object you want to perform cut out. Make sure you link the beginning and end point of the outline before you free the mouse. At the same time, make sure that this process completed at a go. Use the Polygonal Lasso Tool where required provided you encounter a straight line. The Secondary Magnetic Tool is also viable when an object has high contrast.
- Once you have carried out the requirements in step 2 with the two points now meeting up, release the mouse button.
- Copy the object by selecting “Edit” from the Menu Bar.
- Click on “File”at the topmost left of the menu bar and select “New.”Choose “Clipboard” from the option and then “Ok.”
- The next thing is to click “Edit” which is on the Menu Bar and select the “Paste” option. With this, the object we will place on the new canvas. You can now double click the “Background Layer. You can find this on the Layers palette. Click “Ok,” right-click the background layer and lastly, click on “Delete.”
Cut Out Image by Photoshop Pen Tool
- Go to the toolbox topick the Pen Tool. Once done, click “Paths” from the action bar. From there you can setwhere to begin by clicking anywhere on the object’s outline.
- Use the Pen Tool to delineate the object’s outline. By using what we refer to as a node, the draft has marked, and each of the nodes is connected. To create a straight line between node A and B, click and drag the new point to curve the line or better still, release the mouse button.
- Make a right click on any part of the image and afterward click on “Make Selection before you now click on “Ok.”
- From the Menu Bar, choose “Edit” and click “Copy” after you might have selected the whole object.
- On the last note, click on “Edit” again and paste that object you cut out on the new canvas. Also, do a double click on the Background Layer which you’ll find on the layer palette. Now click “Ok” and right click the background payer before you finally click “Delete.”
Cut Out Image by Quick Mask
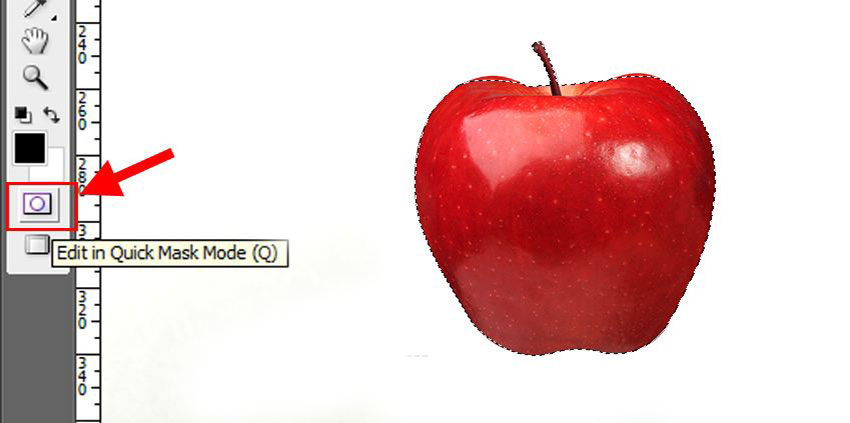
- There are two ways to this, going to the toolbox to select “Edit in Quick Mask Mode” or youselecting“Edit in Quick Mask Mode” option from the Menu Bar by clicking on “Select.”
- The next thing is to click on “Set Foreground Color.”It can found on the toolbox. Select the black color and select “Set Background Color” also from the toolbox then pick white.
- From toolbox again, click “Brush from the toolbox. Itdisplays the “Brush tool” option from the options bar, select this.
- Use the slider to determine a value you prefer for the object at hand by clicking and dragging. With the keyboard, you can use the signs “[“and “]” to reduce or increase the size of the brush.
- Use the slider again to specify the hardness. Set it to 80 percent which is a mediumvalue. It will make the edges of your object not to be sharp and results into having a better mix together with your pasted object. The higher the slider, the brighter it gets.
- Try to outline the object with accuracy. You can perfect this by zooming in on in the areas you have done. You can also reduce your brush size for a perfect result. To indicate that you are working with the Quick Mask Mode, the painted areas of the image will come up with a transparent red color.
- Use your increased brush tool size to paint the whole inner part of the created outlineuntil the cut out shows up in red.
- Now go to the toolbox to select “Switch Foreground and Background Color.”Where you might have trespassed with your brush tool going over the edges of your cut out, the white foreground color rectifiesthis error.
- Once you did with perfecting the edges of your mask, select “Edit in Standard Mode” tohighlight the cover.
- Now click on “Select” from the Menu bar, later click “Inverse.” Having done that, go on to select “Edit” once again and copy the object.
- Go to the Menu bar to select “File.” Once done, click on “New.”From the drop-down, select “Clipboard” and click the “Ok” button.
- The final step requires you to click on “Edit” for the Menu bar and paste the object that you cut out onto the new canvas. On the Layers palette, you find the “Background Layer.” Click on it, right-click the background layer and on a final note, select “Delete” option to delete it.
Tip
To have a look at what your effort has been like, do a right-click on any section and select the “Refine Edge.” Use the slider under the “Adjust Edge” option to check the real changes between the image until you get your desired result. When done, click the “Ok” button once satisfied with what you see.


